How to take great baseball & softball photos {Photography Tutorial}
Our family spends most of May and June at a ball diamond somewhere. My husband and I are on the Recreation Committee for our small town, which means helping with concessions and sometimes cleaning or setting up fields. This year, we have all three kids in ball – tee ball, softball, and baseball. Tee ball games have started already and by the middle of May, we will be spending Monday – Thursday evenings at games. It’s a good thing I love the sport!
I’ve also learned a few things about photographing ball games over the years…hopefully these tips will help you get better photos!
1. Move
Your best pictures probably won’t be taken sitting in the same spot in the stands, especially if there are people sitting in front of you. My favorite spots are directly behind home plate (as long as you’re not disturbing other parents) or standing along the fence close to first base. If you are more comfortable in the stands, try to sit in different spots each game (front row, top row, beside the dugout, behind home plate) to get a different perspective.

2. With a Telephoto Lens
If you have a dSLR, it’s worth the money to invest in a long lens (one that can zoom in quite a ways). A good lens for a crop sensor camera (Canon Rebel or XXD line; Nikon DXXXX series) is a 55-250mm lens. It has great reach and is relatively inexpensive (even cheaper if you buy a discontinued model used). You’ll be able to zoom in on that awesome catch your outfielder just made! Since I switched from Canon to Nikon, I don’t have a long lens and after one tee ball game, I can tell I’m going to miss it!
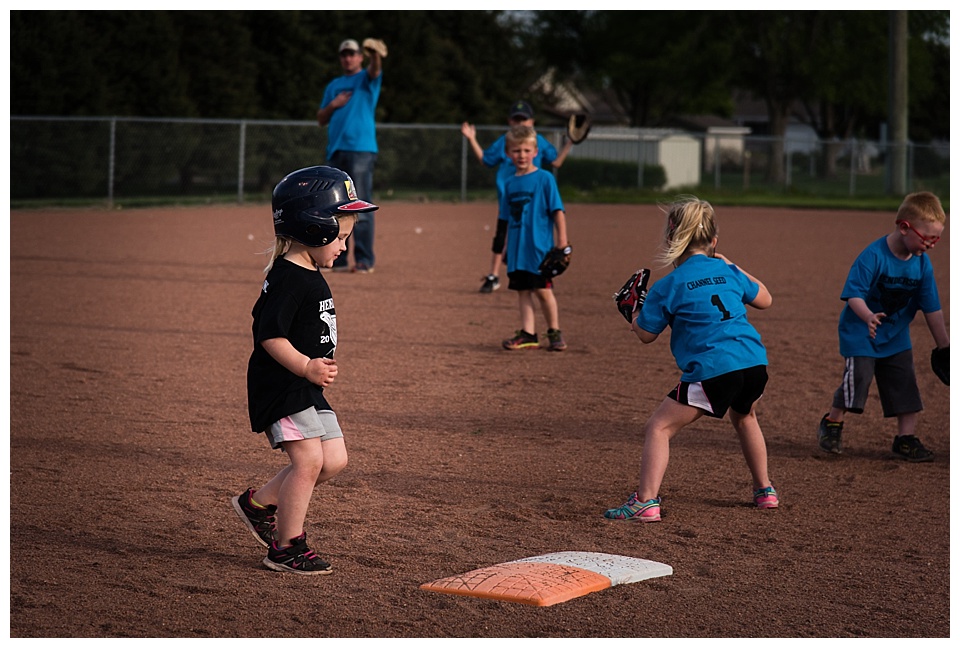
If you have a point and shoot camera, chances are that the zoom is at least 100mm. This gets you reasonably close. Plus, if you have a decent amount of megapixels (anything over 10 should be fine) you can crop in if you feel the need to get closer.
3. With a Wide Lens
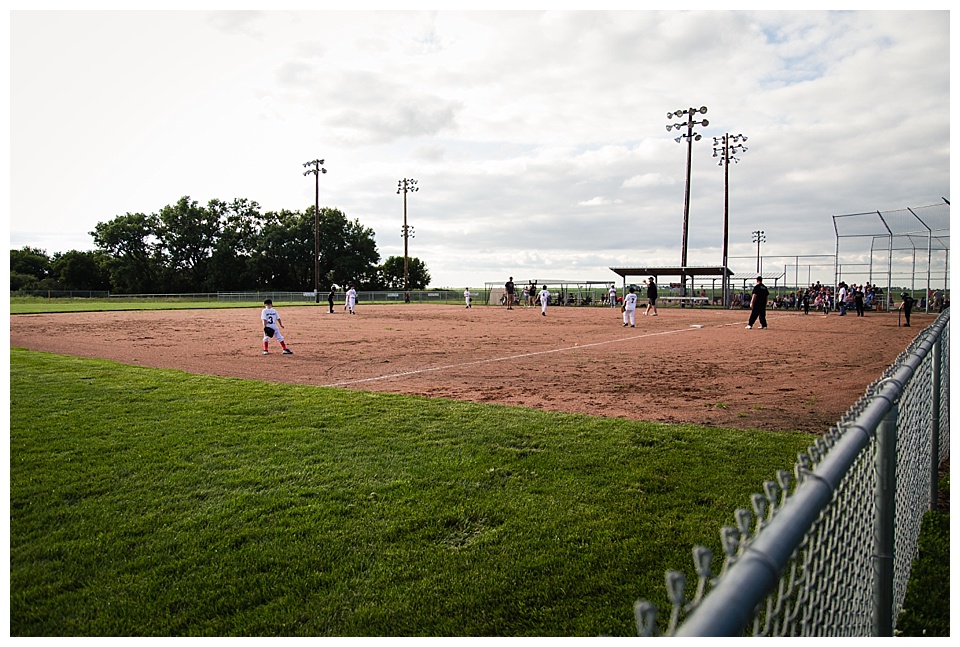
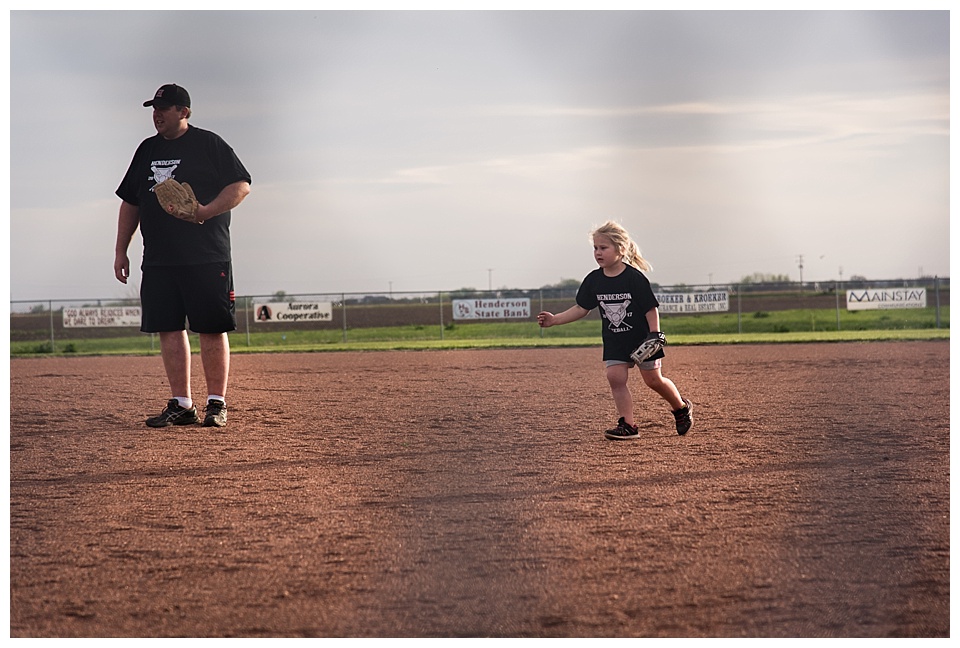
Most of the time I use my 24-120mm lens at a game, especially for younger kids. Since I’m coaching softball, I can usually get right on the field and sneak in a few shots. I love taking at least one wide angle photo per game – I love the lights, the contrast between the dirt and the grass, and the overall atmosphere. It’s much easier to capture the “feel” of the game if I’m not focused on just one kid! It’s also nice to stand along the fence near the outfield and take a photo looking back towards home plate. I can’t wait until my kids play the 8:00 pm game so the lights will be on!
4. Shoot Through the Moment
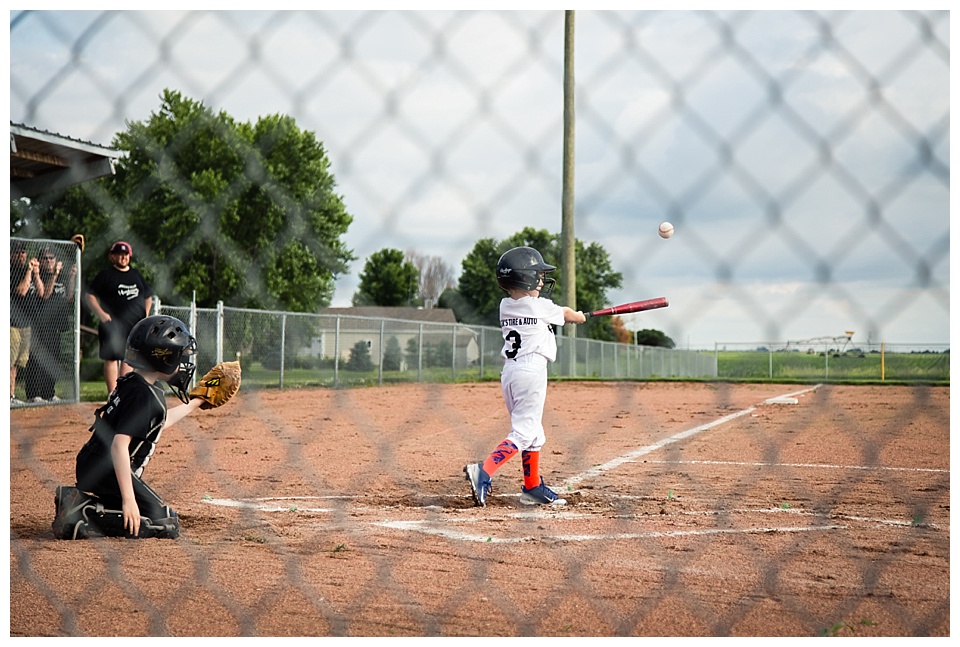
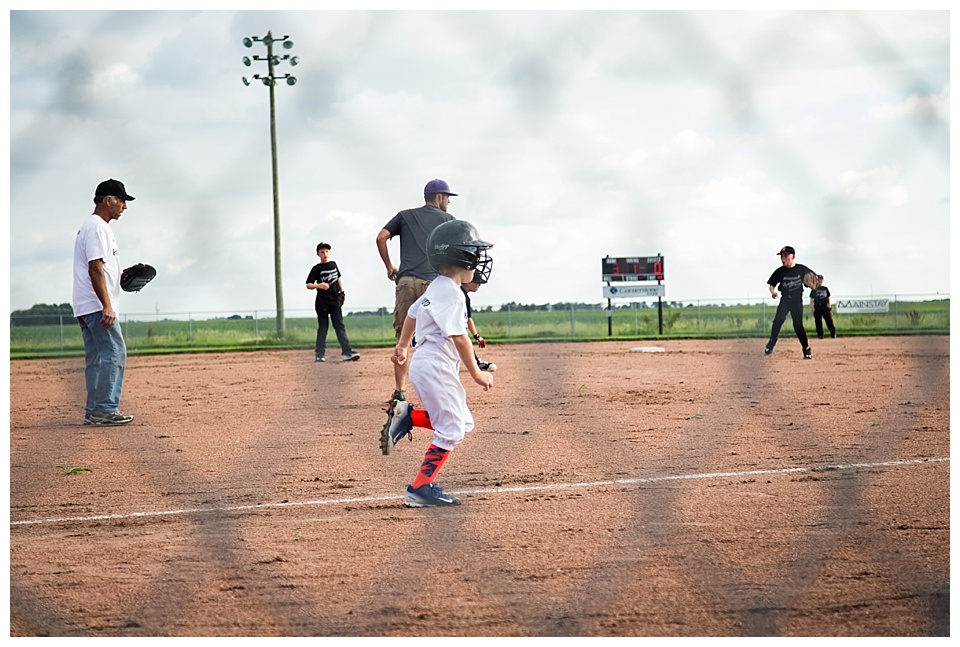
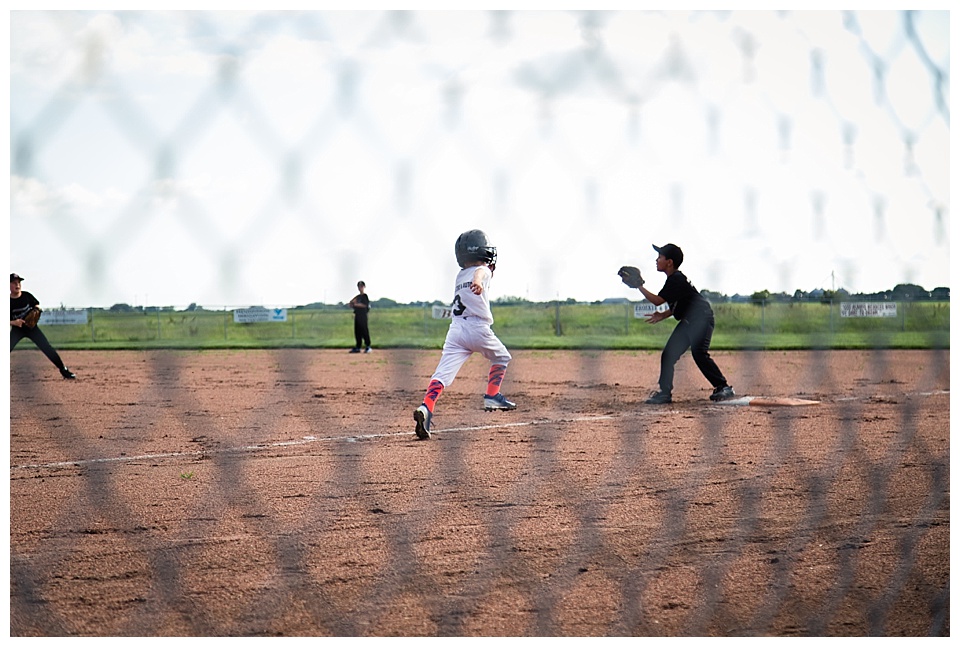
It can be very hard to get a photo of the precise moment the ball hits the bat…my solution is to never stop shooting. I tend to focus on my kid at bat, keeping the catcher in the frame to the left. As soon as the ball enters my viewfinder, I start shooting. If he hits the ball, I keep on shooting until he gets to first base. If it’s a miss, well, I try again (keep in mind that I don’t do this every time they are at bat! I don’t need that many photos).
This also works well if your kid is out in the field. Have your camera ready and if the batted ball starts heading their way, keep clicking through the play. To make the most of your shots, make sure your camera is set to “continuous” or “burst” mode. As long as you are holding down the shutter, the camera will take photos. You’ll end up with lots of not very good photos, but it’s worth it to get “the one”!
5. Details and Downtime
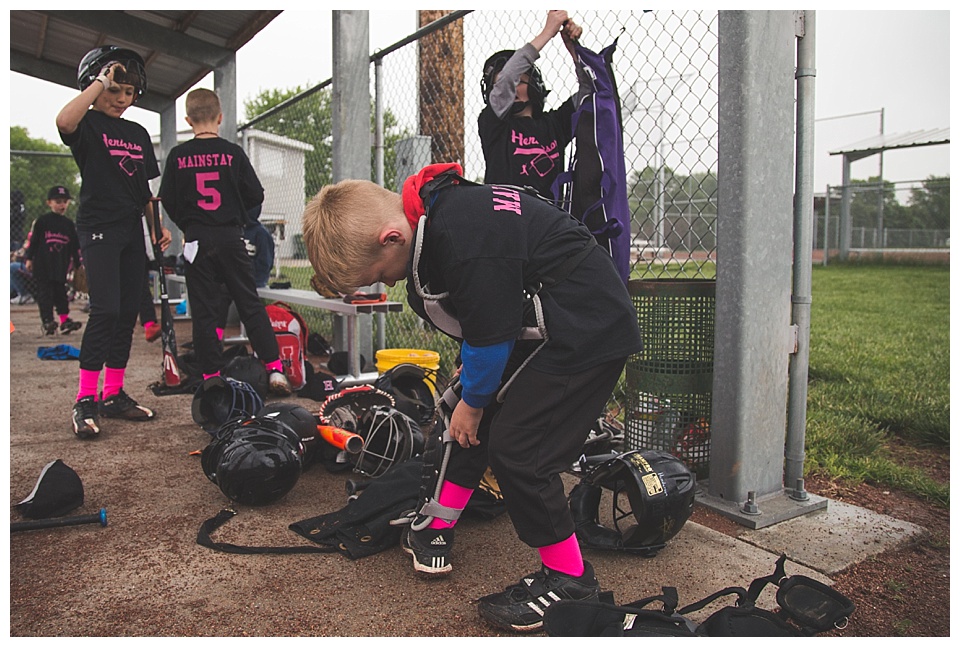
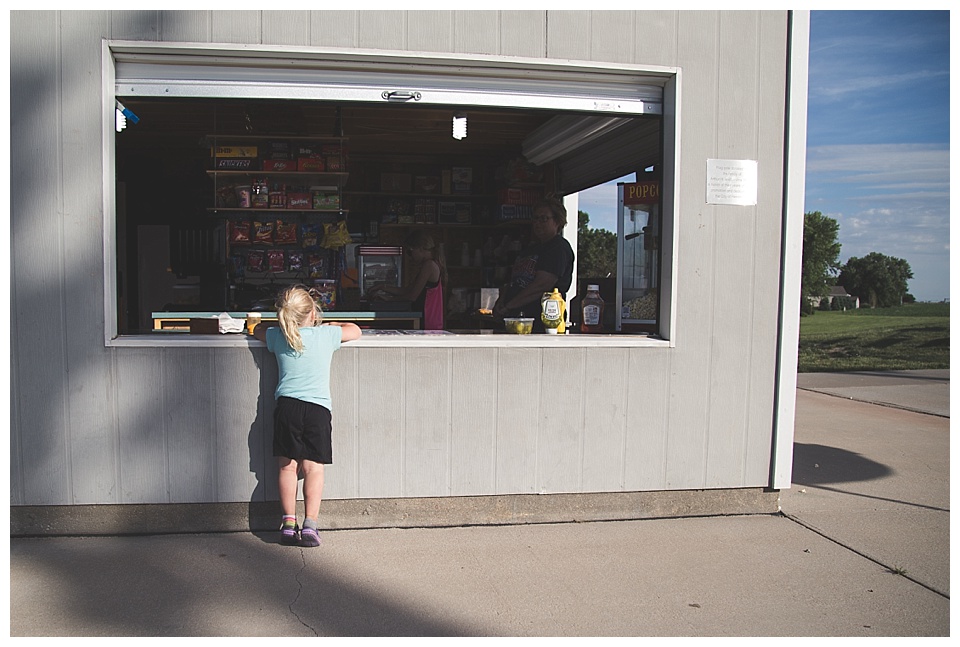
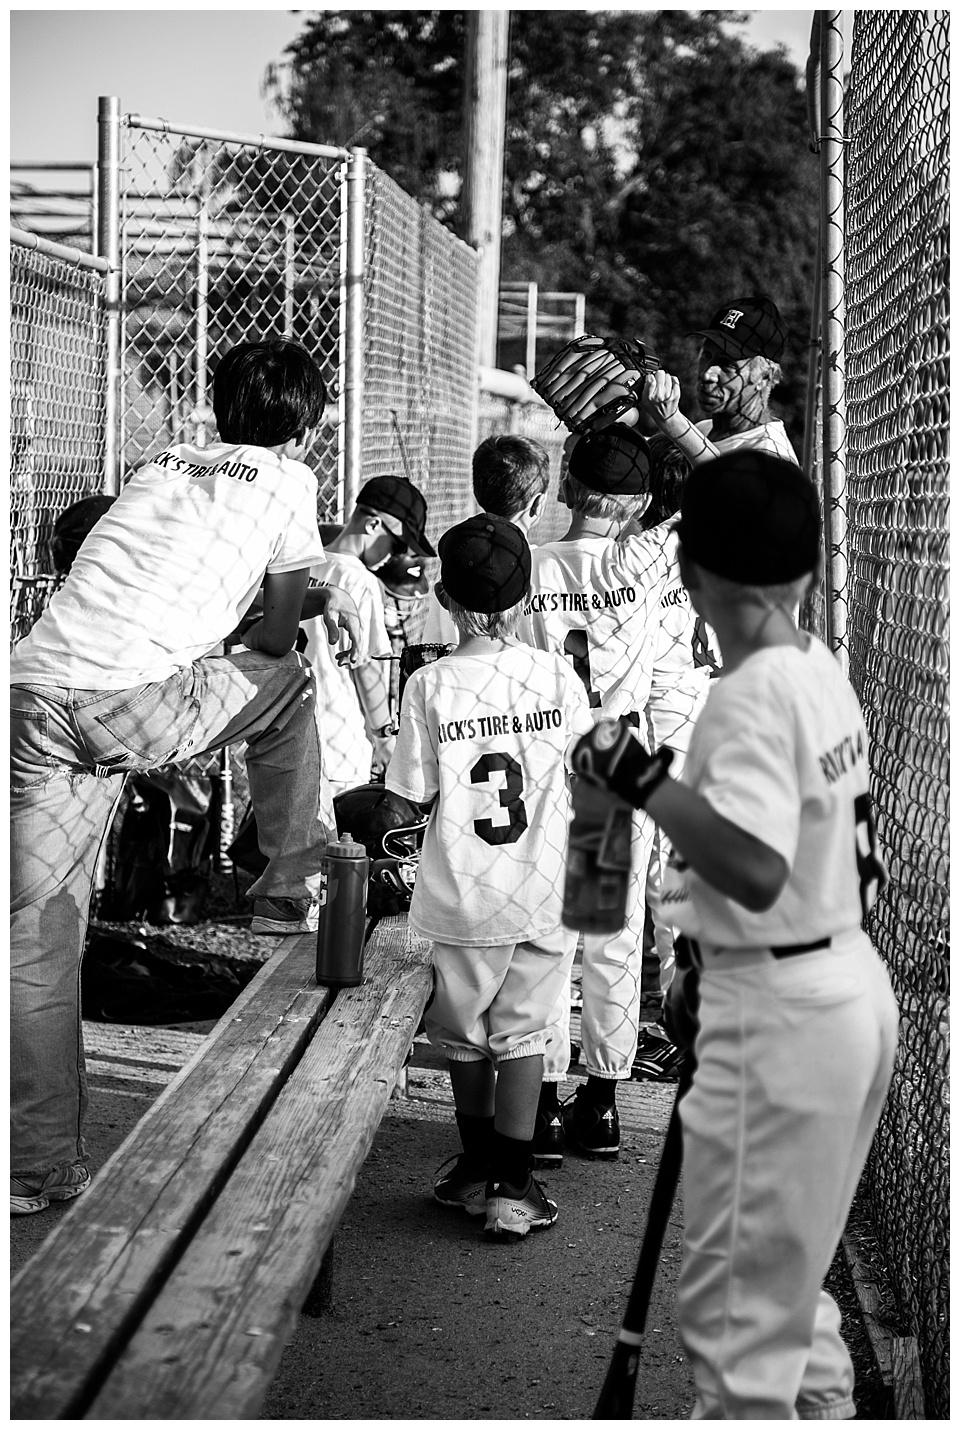
Some of my favorite photos are taken when there’s no action on the field. I love all the details that make it a ball game – balls and gloves on the bench, coaches giving players direction, siblings and friends laughing with each other. Don’t forget about younger siblings! A big part of our experience has been teaching little ones how to watch the game and cheer their siblings on (and a big part of their fun is visiting the concession stand).
6. Shooting Through the Fence
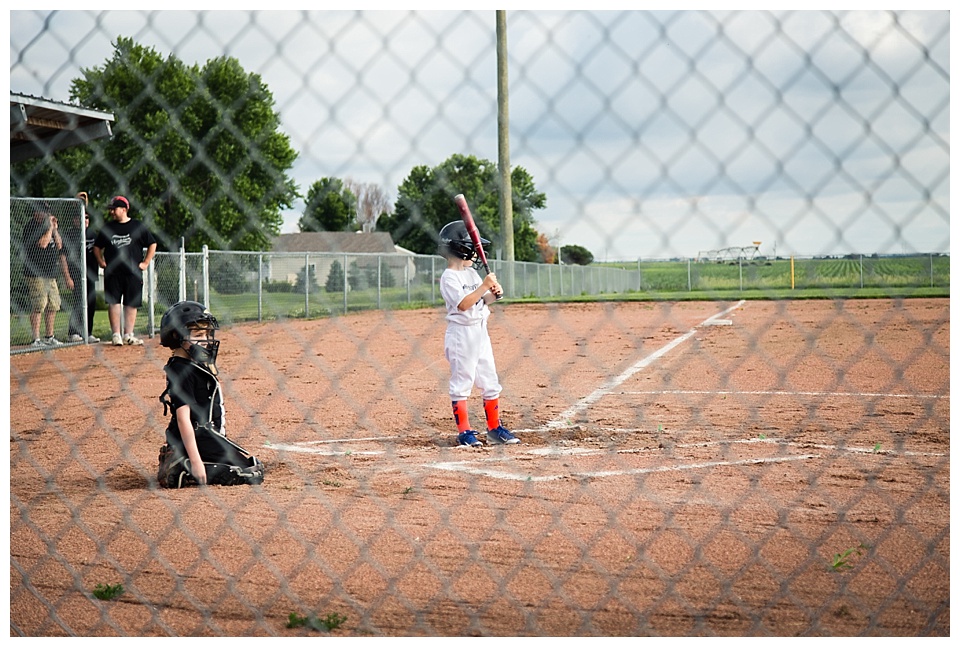
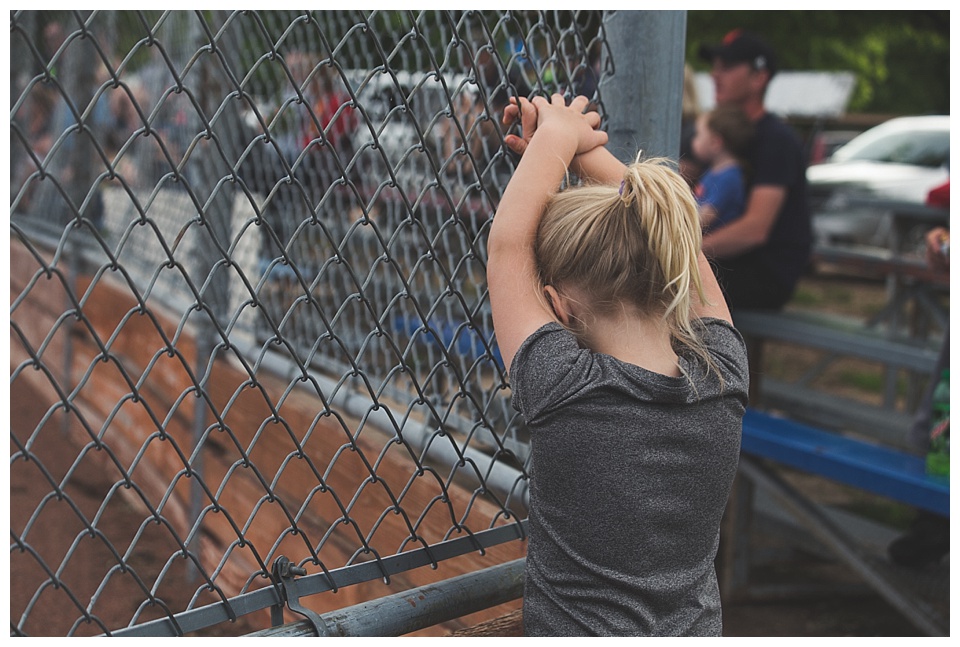
That pesky fence can be right in the way sometimes! If you do want to shoot from the stands, try your best to make the fence part of the background, not the focal point. If you have a dSLR or advance point and shoot, try shooting at a wide aperture (2.8 to 4.0 is a good place to start). Then, zoom in your lens as far as it will go. See how the fence recedes into the background? It’s not the focal point anymore, it just adds texture and context to your image. You’ll probably have to manually choose your focal point (not manual focus, just choose one single point for your camera to focus with) so that you can control where the focus falls. The camera will try to focus on the fence every single time if you let it decide where to focus. It takes practice…so keep at it!
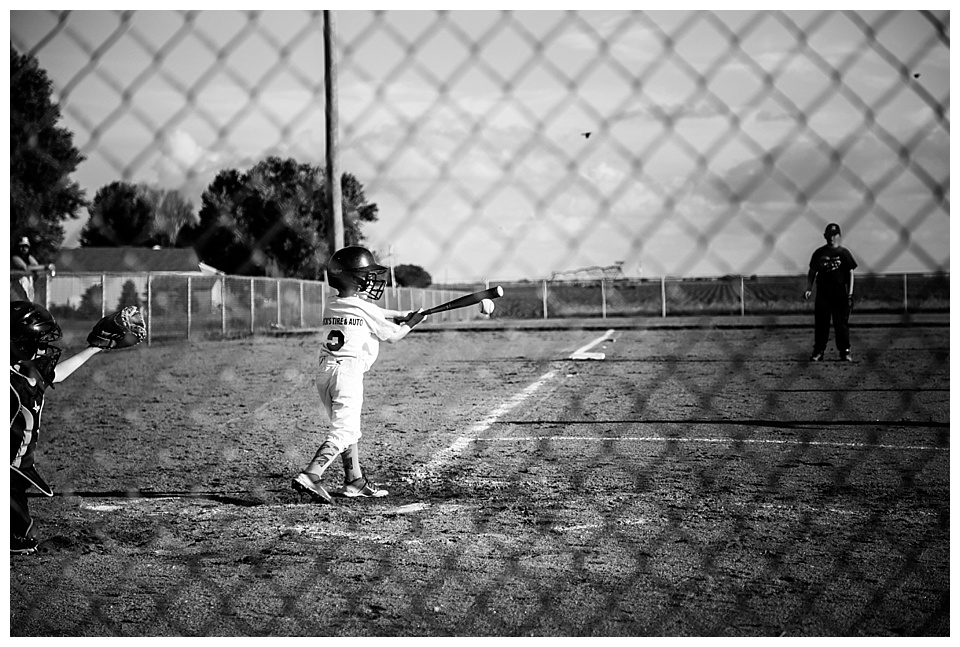
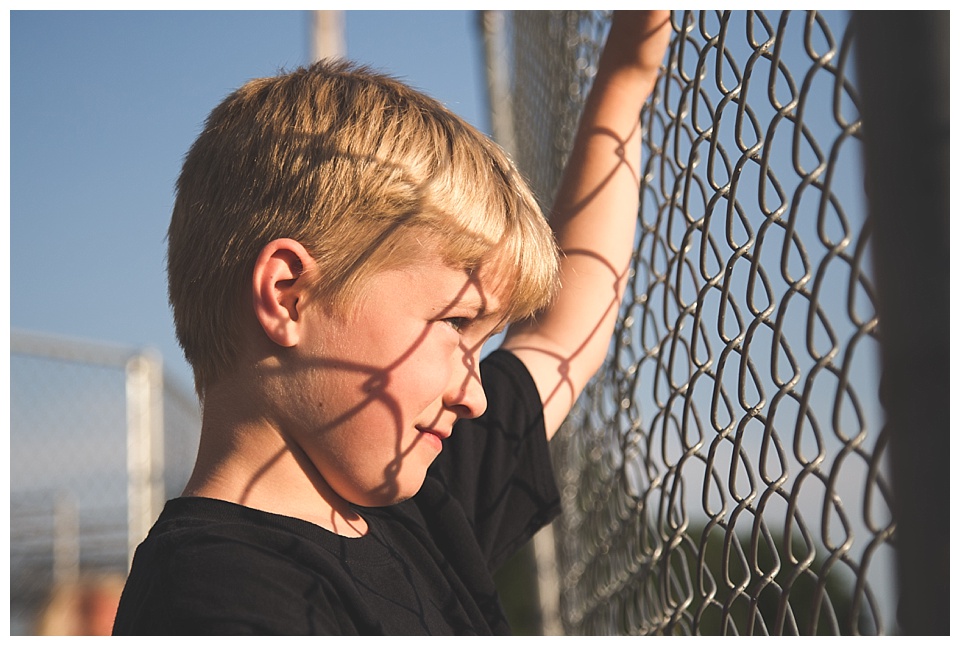
Or, you can let the fence be part of the story. Do your best to capture the face, especially eyes, between the fence lines. And keep the top of the fence straight!
7. Use What You Have
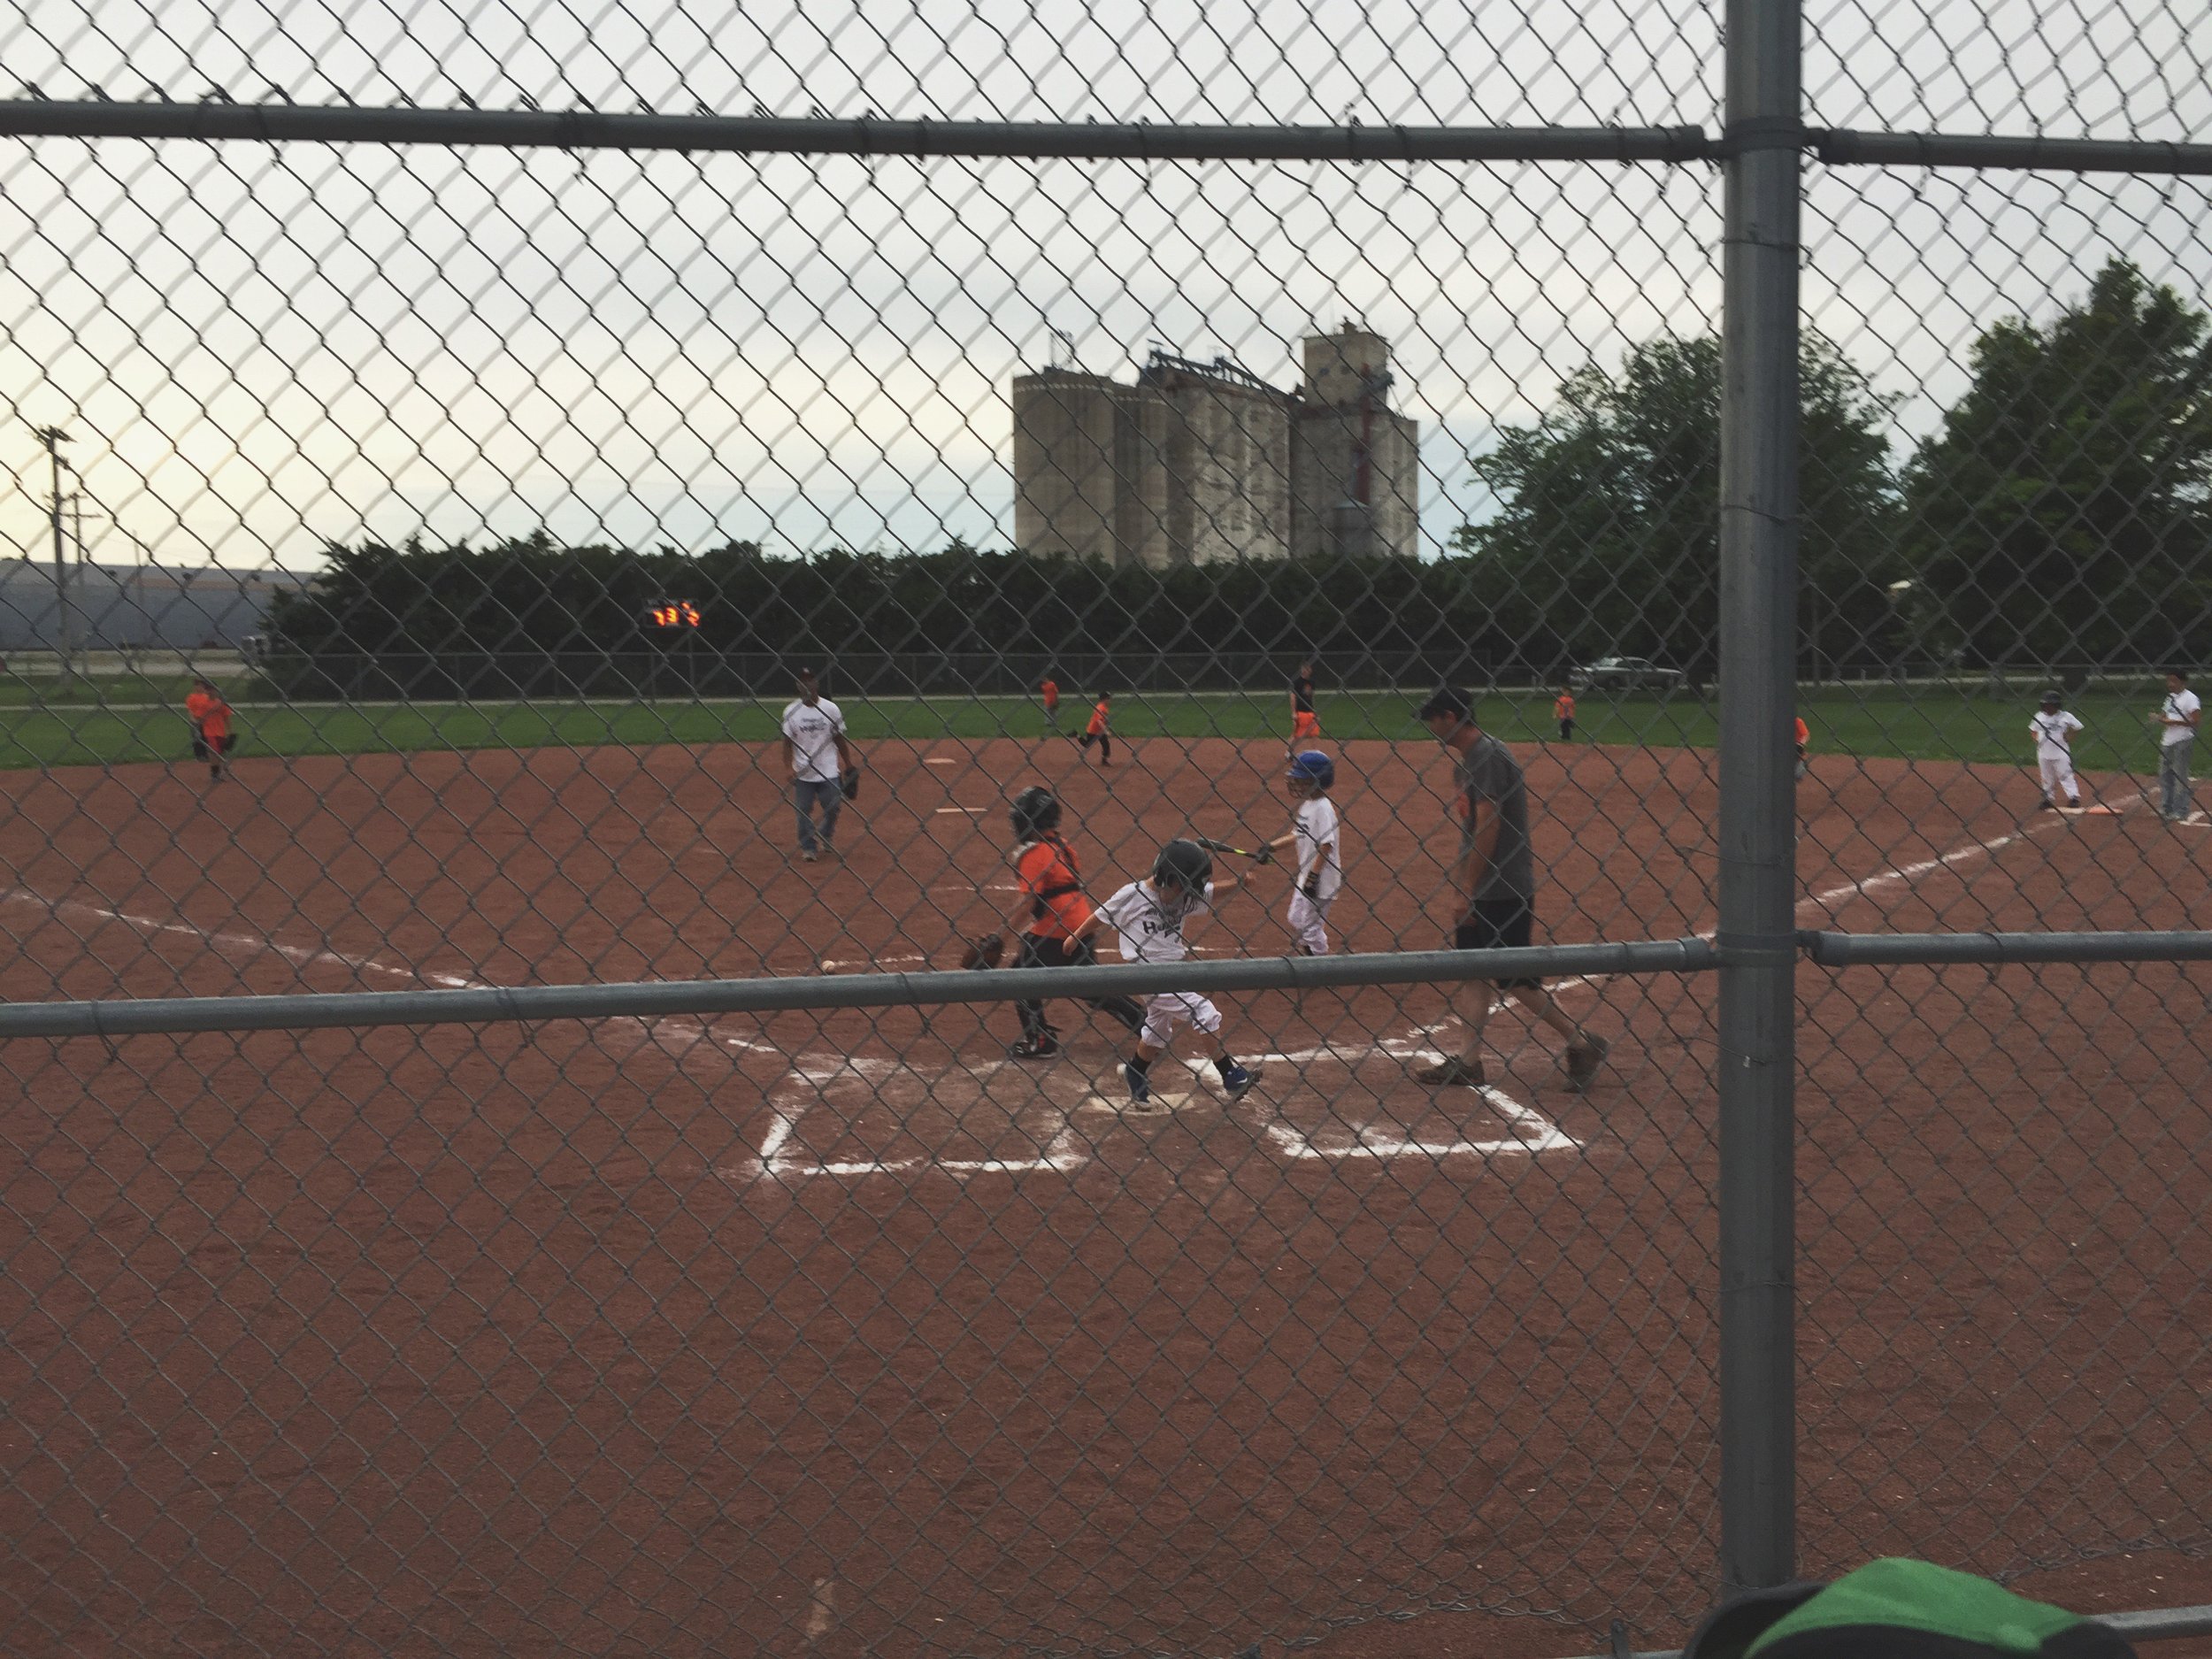
Although a fancy camera is nice, you can get good photos with whatever camera you have with you! The first two photos were taken with an iPhone 6 and the third one was taken with a Fuji X100T which has a fixed 35mm lens. The key is to get closer (since you can’t zoom in) and look for the pretty light or a nice composition.
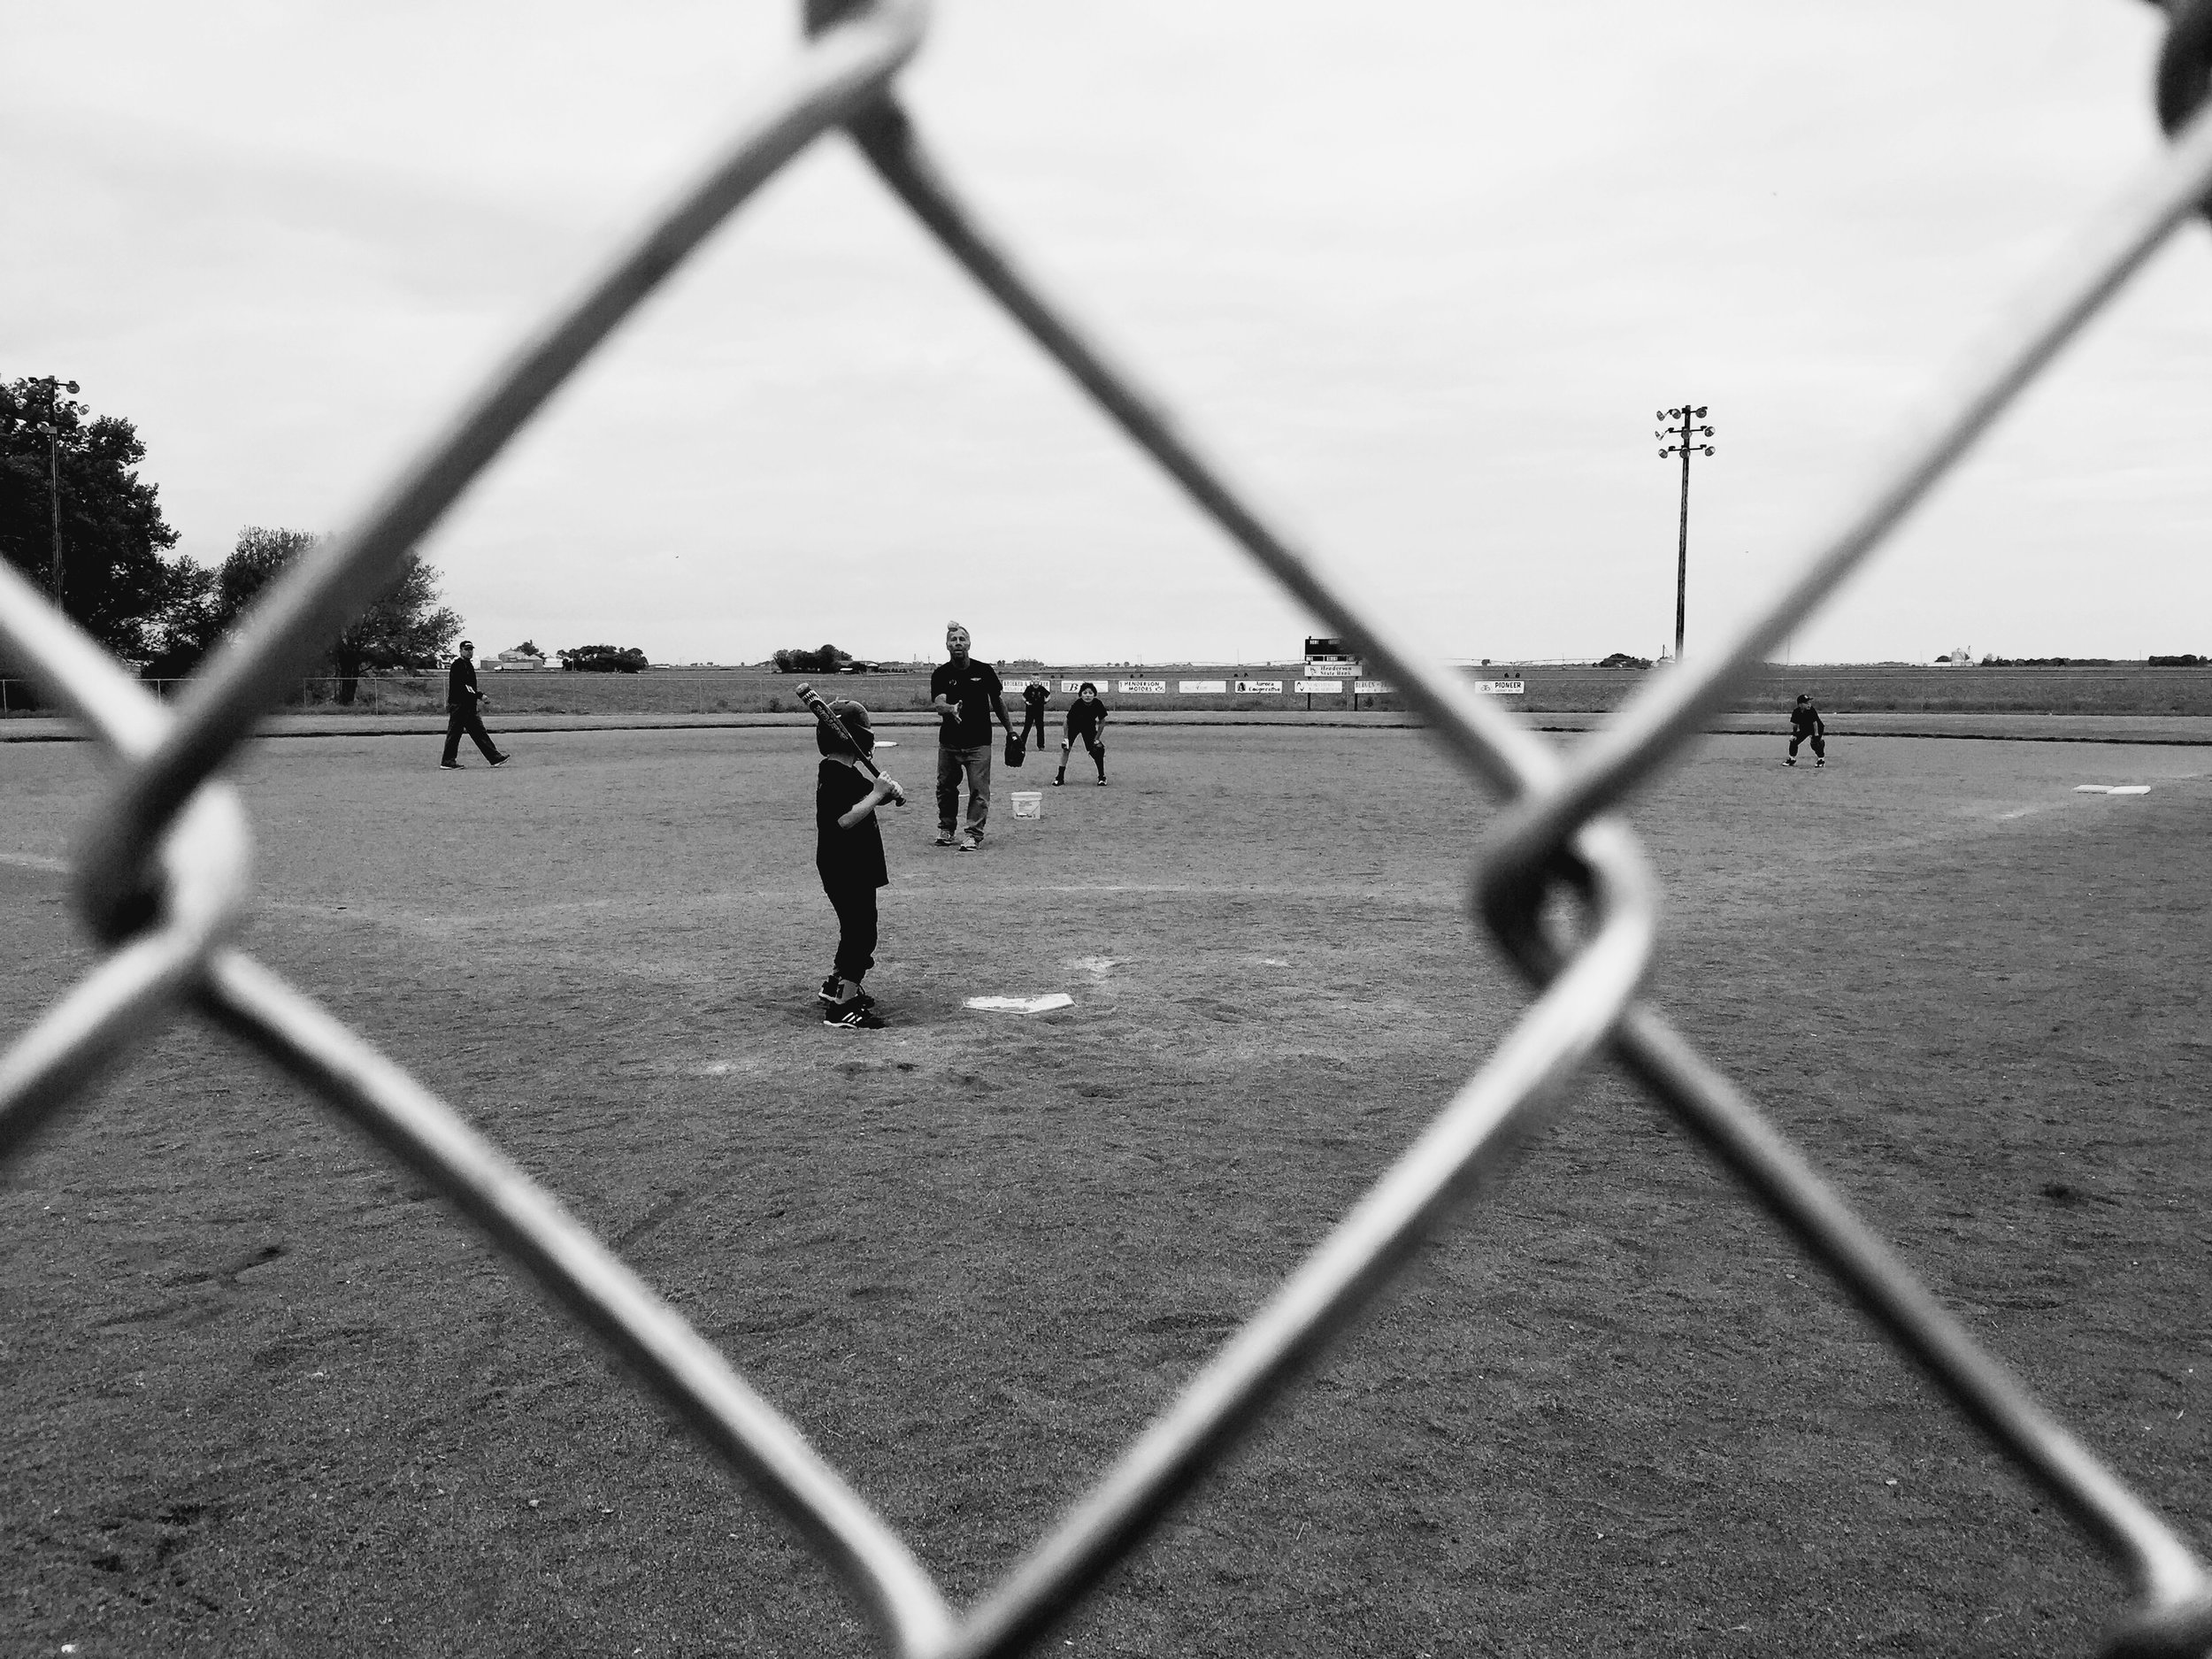
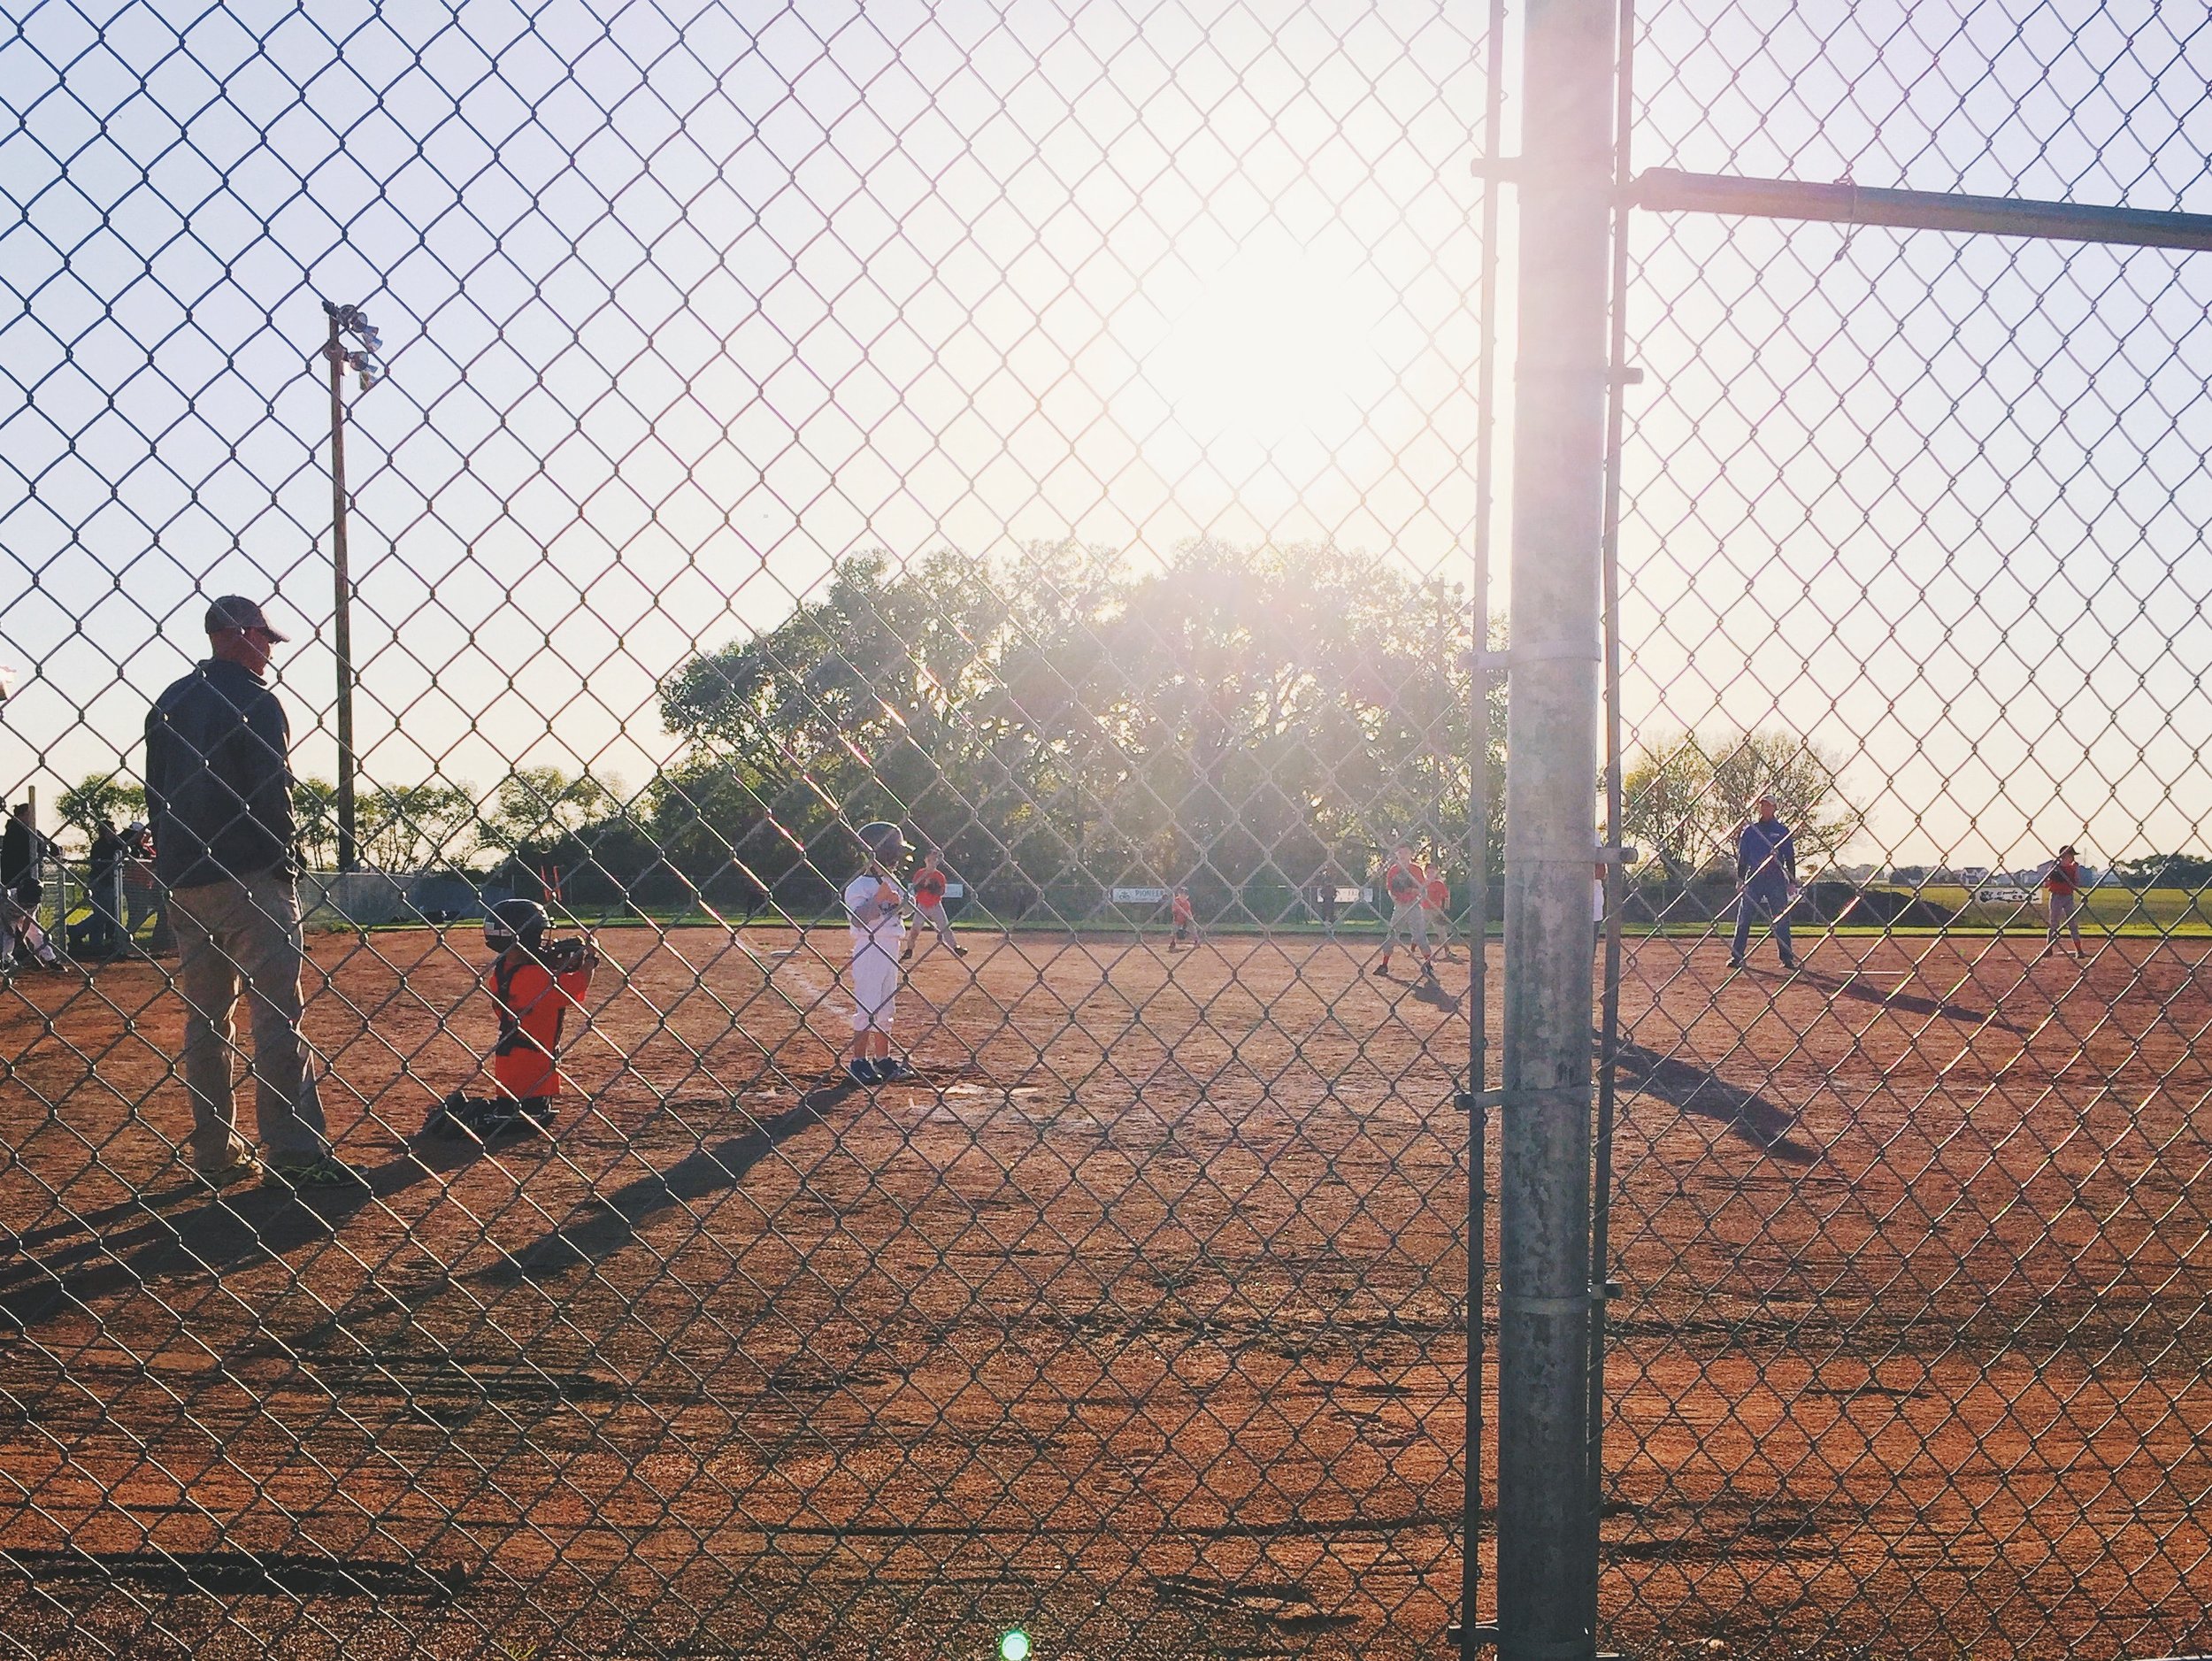
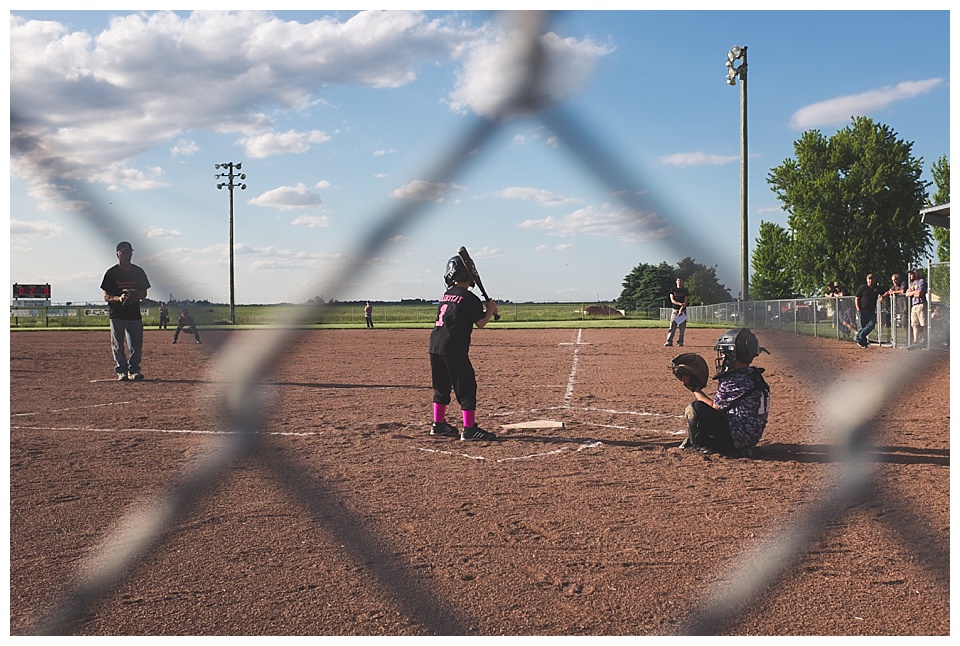
You likely won’t get awesome photos of your kid hitting the ball, but you can capture the atmosphere and memories. Of course, the one time my boy got around the bases to home plate a couple of years ago, I didn’t have my camera with me. If I could do this moment again, I would definitely move from my comfy spot on the bleachers so the fence support wasn’t cutting him in two 😉 but I captured the moment and it is perfect in his scrapbook!
8. Video
I love taking video with my camera and hope to do it a lot more this year than last year! I especially love it for young kids – the chaos is captured much better with video vs. stills! This is from our last tee ball game last year.
A couple more things…remember to keep your shutter speed pretty high (I always try for at least 1/500th of a second). And don’t forget to watch out for foul balls. And….have fun. Don’t take photos at every game – chat with the other parents, eat some Super Nachos, and just watch and cheer for your kid! Happy ball season!
